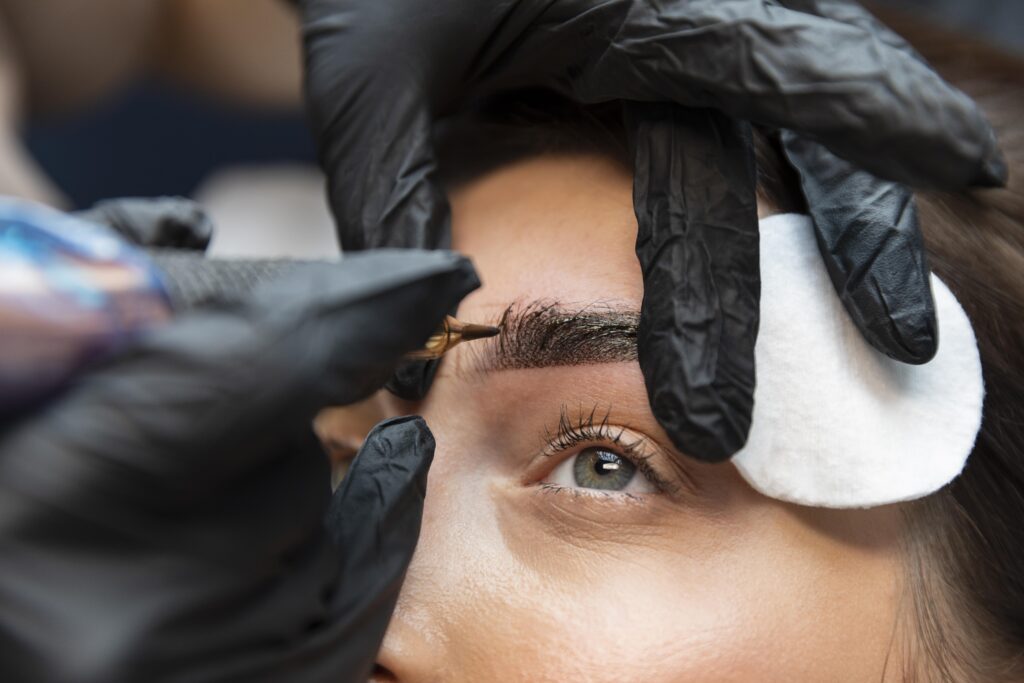
A well-groomed brow may balance your facial structure, accentuate your features, and finish off your makeup appearance. Eyebrows are frequently referred to as the face’s frame. Knowing how to properly fill and define your eyebrows can make a great impact, regardless of your preference for a delicate, natural shape or a strong brow. This thorough, step-by-step tutorial will help you become an expert at applying eyebrow makeup.
Step 1: Determine Your Ideal Eyebrow Shape
Before applying any product, it’s important to know your natural brow shape and how to enhance it.
1.Identify the start of your brow: Align the side of your nose vertically with a brow pencil or makeup brush. Ideally, your brow should start here.
2.Find the arch: Point the pencil straight forward and tilt it so that it crosses the middle of your eye from the border of your nostril. Your natural arch should peak there.
3.Mark the end of the brow:The pencil should be angled between the outer corner of your eye and the corner of your nose. Your eyebrows should stop there.
Use a light hand to mark these points with a brow pencil to guide your shaping and filling.
Step 2: Groom Your Brows
Neatly groomed brows make the filling process easier and result in a cleaner look.
1.Trim long hairs: Make use of a spoolie to brush your brows upward. Use tiny scissors to delicately cut any hairs that are too long and hang over your brow line.
2.Pluck stray hairs: Remove any hairs that are not in the form you want with a pair of tweezers. Avoid overplucking since it can result in uneven brows.
3.Brush them out: To restore your brows to their natural contour, use a spoolie brush. This makes any sparse spots that might require more filling easier to observe.
Step 3: Choose the Right Eyebrow Product
Eyebrow products come in various forms. Choosing the right one depends on your desired look and your brow type:
Brow Pencil: Perfect for genuine hair-like strokes and crisp lines. Ideal for brows that are uneven or sparse.
Brow Powder: gives a diffused, softer finish. Excellent for filling in areas without overly thickening the brows.
Brow Pomade: provides strong pigment and retention. Ideal for forming strong, defined eyebrows.
Eyebrow Gel: comes clear or colored. used to add a faint hue and hold or to fix the shape.
Pick a color that matches your natural brow or is one shade lighter for a more natural look (especially for dark-haired individuals).
Step 4: Outline the Shape
This step creates a guideline for filling and shaping.
1. Outline the underside of your brow using your preferred tool (typically a pencil or an angled brush with powder or pomade), following the natural line from the tip to the tip.
2. To prevent a sharp, boxy look, repeat this on the top of the brow, starting a bit further back from the front.
3. This is only a sketch, so keep your lines smooth and light.
Step 5: Fill in the Brows
Now, fill in your eyebrows using light, feathery strokes. The goal is to mimic the appearance of natural hairs.
1. To get the maximum definition, start in the middle of the brow and work your way down to the tail.
2. To maintain a smooth, natural-looking brow, apply minimal makeup there.
3. When using powder, push the powder into the brow with a tiny, angled brush rather than sweeping it on.
Avoid making your brows overly dark or heavily filled—build up color gradually for the best result.
Step 6: Blend for a Natural Finish
Harsh lines can make brows look fake. Blending is key to a natural appearance.
1. Using a fresh spoolie brush, carefully move it upward and forth through your brows.
2. By doing this, any noticeable lines will be softer and the substance will be distributed more evenly.
3. This technique will also help integrate the strokes into your natural hair whether you used a pencil or pomade.
Step 7: Define and Clean Up the Edges (Optional)
Define the edges of your brows for a refined, businesslike appearance.
1. Apply a thin line of concealer directly beneath your brow using a tiny, flat concealer brush.
2. Using a sponge or your finger, blend it into your skin.
3. If you like a sharper, more dramatic effect, you may also apply the same technique above the brow.
If you want a glam or evening makeup appearance, this step is quite helpful.
Step 8: Set the Brows
Applying gel to your brows will help them stay in place throughout the day.
1. Without changing the color, clear brow gel will maintain the shape.
2. Tinted brow gel can add extra color and volume, especially useful if you have fine or light-colored hairs.
3. To raise and secure the hairs in place, brush the gel through in upward and outward motions.
Even in greasy or humid environments, this technique helps keep your brows in place.
Conclusion
Using makeup to achieve gorgeous eyebrows requires a combination of skill, product selection, and practice. The correct eyebrows may accentuate your eyes, frame your face, and give you more self-assurance. Recognize your natural shape first, then correctly maintain your brows and apply the appropriate cosmetics sparingly. You’ll eventually find a brow routine that suits your face and sense of style. This methodical approach can help you become an expert at applying eyebrows, regardless of your preference for a bold statement or a natural arch.